Wednesday, August 18, 2010

Canning - Jams & Preserves

Well, this has been a summer of good intentions gone to pot. Never did buy my bushel of peaches. The second crop of cucumbers and 50% of the tomatoes dropped dead because of the scorching heat. And I completely forgot about going to the woods for blackberries in July. But the blueberry crop was amazing, so much so that we ate almost as many as we picked and I was left with precious few for jam. But watermelon rind preserves are made from the part you don't eat anyway so I managed to get a few jars ready for winter. The recipe has been in my husband's family for 80+ years that we know of and was probably handed down from a previous generation before that. It's easy and except for the cost of the sugar, is virtually free.
Mary Ellen's Watermelon Rind Preserves
2 lbs. watermelon rind
1 qt. cold water
1/4 c. non-iodized salt
1 lemon
4 c. granulated sugar
2 1/2 c. hot water
Pare the watermelon rind and cut in cubes (no green, no red). Cover with cold water and salt and let stand overnight. In the morning, drain and cook in fresh water, to cover, until tender. Drain.
Mix sugar, hot water and thinly sliced lemon and add cooked watermelon. Cook until transparent (really transparent). Seal at once in sterilized jars. (Turn sealed jars upside down for 20 minutes or so. Then right side up to cool.)


Blueberry Jam
Berry jams are simple. Wash, crush & measure your berries with their juice. bring to a low boil and add 3/4 cups of sugar for every cup of berries. I always add a pinch of salt and a splash of lemon juice but don't know why. I just think it makes the flavor 'brighter'. Then cook and stir frequently until thick. Pour into sterilized jars and seal. Some recipes will tell you to process in a boiling water bath for 10 minutes but I don't. I always screw my bands on tight & invert the jars for a while. Having been burned a time or two by a splatter of boiling sugar juice, I figure no germ could possibly survive the incredible heat. But it's up to you.

To protect jar lids from dust or to prepare them as gifts, replace rings with the white plastic caps available in canning sections or remove the ring and tie a piece of fabric over the lid, or you can hold a circle of fabric in place with the ring. I do this more with jams and jellies than with anything else, mostly to discourage me from opening them before winter. What a delight is to get a fresh taste of summer on a cold, dreary day.

Tuesday, August 17, 2010

Is This Blog Really a Threat to the Economy?

I'm right on the cusp of being a baby boomer, born two years too early, but I was none-the-less a war baby. Having been in advertising for 37 years, I've not only been aware of market trends but was a part of the industry helping to set and define them.

For several years, our impending retirement has been feared because apparently our sheer numbers would threaten to cripple Social Security and Medicare. I find this somewhat humorous as our numbers were established at the time of our birth, six-plus decades ago, but apparently come as a recent surprise. The gloom and doom predictions seemed to focus on our leaving the work force en masse' and resting on our laurels to take from society, for the remainder of our days, without making any contributions to it.


Governmental solutions include raising the retirement age to keep us employed longer, yet with unemployment numbers as high as they are, one would think that kicking us out of the job market as soon as possible might make sense. Oh, excuse me, I think I've made a major blunder as "governmentsl solutions" and "make sense" are rarely appropriate in the same sentence. I know that's sarcastic and ugly but that's my take on the situation as I see it this morning because...I have come across an article "Another threat to economy - Boomers cutting back?".

Give me a break! What is a Boomer to do? When we were first aware that Social Security might be in trouble down the road, we invested in our own retirement. How'd that work out for us? Our investments are down 40%. When we decide to continue earning a living...we are taking bread out of the mouths of young families who need our jobs. So we cut back, pare down, make do with less and now we are a threat to the economy because we are spending too little. Where is Jack Kevorkian when you need him? Sometimes I think the government would just like to shoot us. It's almost enough to make a person get depressed. Nah! Not really.

We may be old and starting to wrinkle. We may walk instead of run and parts of us that once were proud and perky may be headed south but there's still a lot of spunk left is us boomers. And even when the spunk starts to fade, we'll have a great deal of history to share and know-how to pass along. For the most part, we're an optimistic crowd. We've known bad times and good times have developed a sense of balance and more importantly, we've learned that satisfaction is internal and has little to do with McMansions and fancy cars.

So, I don't think my blog is going to destroy the country. I believe we can pare down and cut back and enjoy life just as much with a little more in the savings account as we did when we gave no thought to spending. And now, I'm off to make Watermelon Rind Preserves and Blueberry Jam...and I'm thrilled that I know how and it will cost me no more than the sugar that goes into it.

Monday, August 16, 2010

Still Finding Me...

and other lost items.

Every once in a while, it seems that my life spirals totally out of control. The past two weeks or so have been in just such a free fall. There were little things going on and big things going on and birthday one and birthday two and birthday three. All the while, there were bills to pay, shopping to do and meals to plan. At first, I muddled through, putting one foot in front of the other, completely on auto pilot. Still, the laundry piled up, the shrubs grew wildly, the weather turned sour and a presidential visit so disrupted my little beach town that my husband canceled our wedding anniversary plans.
I passed exhausted four or five days ago. Stopping to catch my breath only gave guilt a chance to catch up with me. The blog, the blog...I'm behind on the blog. Then I wondered why I was investing time in it anyway. Who reads it? Then I began to wonder why I do anything. I know these 'wonderings' to be a dangerous sign, a prelude to a meltdown of sorts, an excuse for a pity party.

But not this time. I closed the door on the unmade bed, curled up in front of a movie I'd wanted to see for ages, took the camera on a search to find some little beautiful thing, went for a swim after dark and made a list of things I actually like about myself.
Some time, after midnight, as I was scowering nooks and crannies for the minuscule sewing kit that needs to be included in a future blog post, I found my long lost cross. I had been so sure that it was in my wallet, awaiting repairs, when it was stolen from my purse some six years ago. It must have been only the broken chain. I was thrilled. In fact, I was so thrilled that I stayed up until 4:30 AM reading and rejoicing. It seemed that I had been given a sign, a chance to relearn the lesson of never giving up...an opportunity to reaffirm the fact that who I am and what I'm worth is not based on what I do.

This morning, it is still raining, there is still crisis in the air, preserves waiting to be made and laundry to be done and another installment on "preparedness" to be written...and I still care. But I'm in no particular hurry and life feels so much sweeter when I am in control...of me.
You might enjoy this book, "A Weekend to Change Your Life" by Joan Anderson. I'm loving every page.

Monday, August 9, 2010

Back to School - OUCH!

I'm so old..............
that I remember when the school supply list was only 5 items long and parents actually enjoyed the annual back-to-school splurge of shopping for a "first day" outfit. Now getting the kids ready for school is a major budget item and, in this economy, can be a real budget buster.
Even though I'm past the age of enduring this agony myself, I've come up with ideas for my grown children that I thought might be of help to you...or at least an inspiration:
  1. If it's your tradition to begin school with a teacher gift, consider a nice apple muffin, or a thrift store coffee mug or a red water bottle personalized with the teacher's name. Place the gift in a brown paper lunch bag. Fold the top of the bag over once or twice, punch two holes in the flap and tie with red ribbon. Add a tag sized card with your child's picture inside and write, "my name is (?) and I'm glad you are my teacher".
  2. Thank goodness new clothes don't necessarily look new these days. Check out the parenting, child and teen magazines while waiting in the grocery checkout line to get an idea of what's "in" and what's not.
  3. It seems that pinstripes and the stone washed look is "out" but ornamentation is very much "in". Consider buying one of those dazzle, gem and stud kits to add new sparkle to old jeans and shirt collars. Add a ruffle of pretty patterned fabric to the bottom of of plain shirt or dress.
  4. Embroidery is also "in" and easy to do. If you can sew at all, you can embroider. Yes, you can. Spend some time in that section of a fabric or craft store and you will realize that it is not rocket science and a couple of needles and a few packets of thread cost next to nothing.
  5. Iron-on applique's are a super simple way to update something old and if you can't find some or don't like the ones you do find, make your own with a little "Stitch Witchery". It is also great for turning those sew-on embroidery trims into iron-on decorations.
  6. Don't forget tie-dying. If you child has a circle of friends, get them together with t-shirts they already own and have a tie-dying party and suggest that they all wear their new creations on the first day of school.
  7. If you live in a subdivision filled with children, arrange a neighborhood yard sale and have a neighborhood party the night before so that participants can buy from and sell to each other first.
  8. If you have teens, think college. Even if you have to drive to a neighboring college town, the thrift stores around a college campus are filled with young, trendy clothing, still at bargain prices.
But clothing is not the only nightmare expense when doing the back-to-school thing. Here are some links I found to sites that cover a wide range of back to school issues:

For Thrift Store shopping tips I never thought of click HERE.


THRIFTY CHICKS has innovative ideas for filling that staggeringly long school supplies list


GREEN BLOG has back to school suggestions that cover everything from healthy breakfasts and waste-free lunches to transportation, supplies and projects.


APRON THRIFT GIRL covers frugal ideas for back to school clothes from many perspectives including swap parties, bartering groups and freecycling.

Wednesday, August 4, 2010

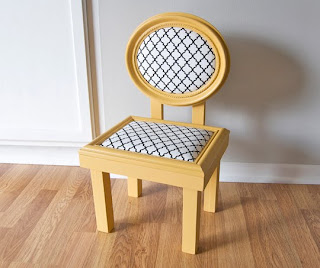
Picture Frame Child's Chair

My daughter sent me a link to this adorable child's chair made of thrift store picture frames and a few lengths of 1"x 2". I couldn't resist sharing it. Just click on the photo to connect to the 'ohdeedoh' site for instructions and enjoy their other ideas.

Sunday, July 25, 2010

New Life for Old Mirror

Sometimes I just need to forget about the weather, finances and my incredibly long 'to do' list and chill. When painting, reading and letters require too much thought, my favorite do-nothing pastime is making something from nothing.
Several months ago, I picked up an old gilded mirror for $3 at a yard sale knowing that I would paint it white. Can't get enough white! Still, it was a genuine antique of good original quality and must have been quite expensive in it's day. I dutifully mourned it's fall from grace and finally accepted the fact that if it were possible to magically restore it's pristine condition and golden glory, it would not even belong in my house.
I considered darkening the crevasses to mimic eons of dust accumulation but the carvings were so nice and deep that it was not necessary in order to bring out the design. Simple shadows took care of that. Then I though I'd sand the raised surfaces to represent the wear from years of dusting and rubbing across the surface. That wouldn't work because it revealed the gold underneath. Finally, I just pulled out a dark brown marker and hit the high spots and corners where wear would have taken place. I thought the contrast was a bit stark at first but the water based marker began to fade into the white undercoat. The result was a bit subtle, showing it's age and wear and shabby to the max. It fits perfectly into my eclectic mix. Happy day!

Thursday, July 15, 2010

Starting with a Clean Slate

I found this link today and love it. If you're thinking about clearing the clutter, check it out. The concept of doing it backwards never occurred to me and sounds fantastic. Let me know what you think.

Wednesday, July 14, 2010

Afternoon Fun for 33 cents

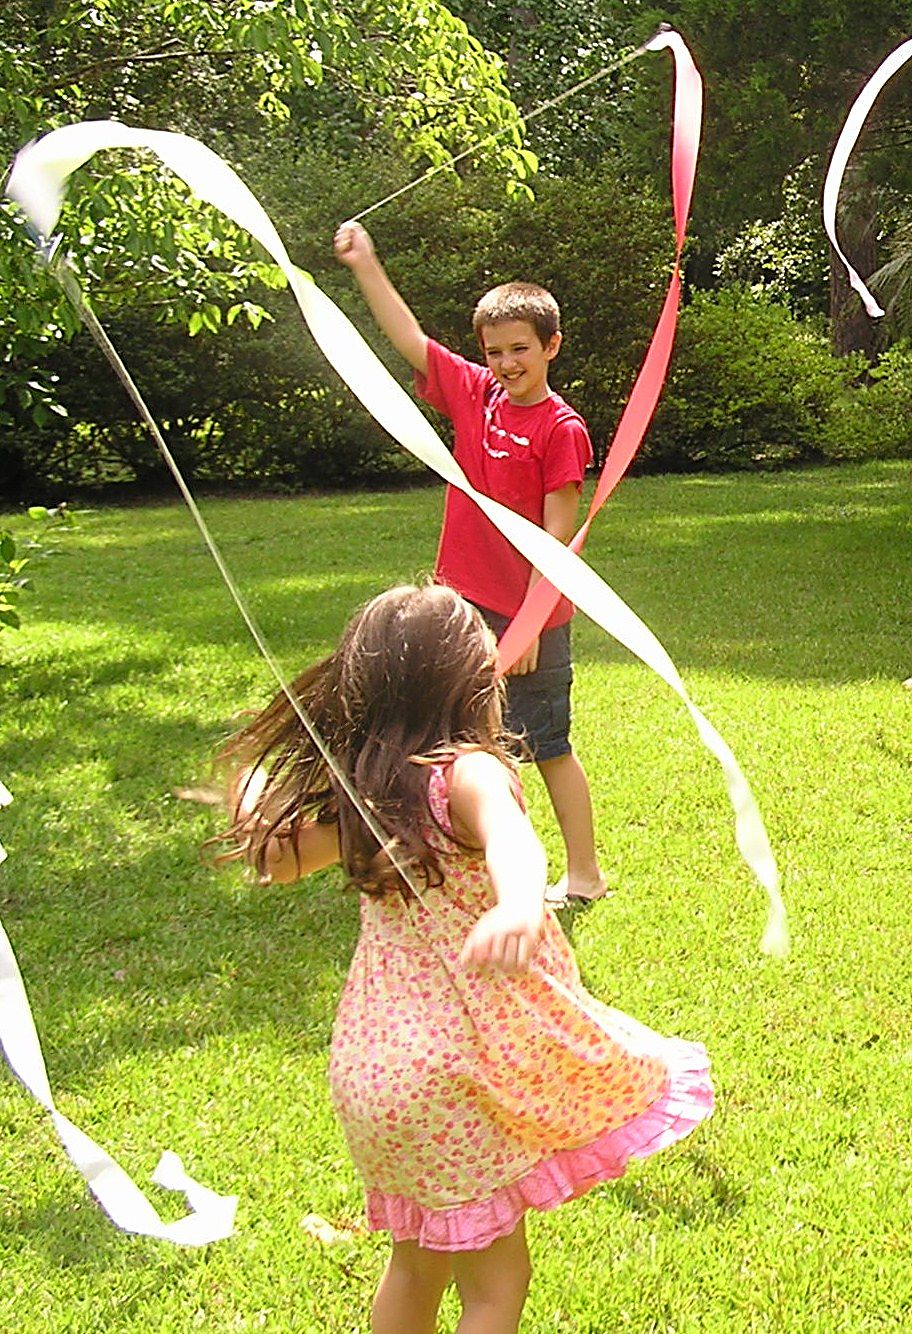
I remembered a "thing" that I loved as a child. It was a simple streamer on a string that turned an ordinary afternoon into something approaching magical. It could be swirled around you, low at your feet or over your head, like a cowboy's rope. You could swing it to make huge, fluttering figure eights or run, fanning your arm up and down as you went so that it looked like you were being chased by a Chinese dragon, and the taut rubber on the wire, hummed and whistled in the wind.
I could never find them in the store for my own children and supposed they had gone out of fashion in the 60's and never thought of trying to make one until this spring. I remember the basic elements but remember the wire and cardboard as larger. However, I also remember my hands as much smaller so it's anybody's guess. the rubber band also is not quite right and mine did not hum. The ones we played with as children had a wider piece of rubber that was stretched so tight it would whistle in the wind.
In June, I posted a photo of an intended project, the collection of "stuff" on the left. The collection includes packages of $.33 crepe paper streamer rolls, wire coathangers, cardboard, rubber bands, tape, string, stapler, wire cutter and needle nose pliers.
The photo on the right should be self explanatory...a length of shaped wire, with rubber band, a string, and cardboard folded around the wire with the end of a streamer stapled inside. The measurements are non-specific. The cardboard is a little wider than the streamer. The bend of the coathanger is a little wider than the cardboard. The string is about the length of the distance between a child's hand and the ground and the streamers are 6-7 feet long for younger children and 10-14 feet long for older children.

If you have found these in the store or have a better configuration, please let me know.

Monday, July 5, 2010

4th of July Update


This Independence Day was the best, most meaningful and most fun gathering that I can remember in a very long time. I'm in the process of editing photos and should have a re-cap ready to post tomorrow. So, check back in later and find out what we did, what worked, what were the huge successes and what were the duds.

Child Friendly T-shirt painting

Several painting techniques are extremely easy for children. The potato print is one. We used a cookie cutter to establish our shape, sinking it deep enough into the potato half to give us a metal "stop" when cutting away the excess. A plastic place mat is perfect for inserting into the shirt to keep the paint from soaking through to the back of the shirt. A smooth surface mat will provide a truer impression. We used a textured mat for dimension. Simply letting paint drizzle from the end of a stir stick produces instant modern art. Using a foam brush to apply paint to a sea sponge allows the children to cover a large area at a time without gobbing on the paint and the foam brush is an easy applicator for painting directly and painters tape provides a general guide.
The twins had watched the older children and knew exactly what to do with no instruction at all - as if it would have made a difference. They went right to work while an inverted plate protected areas to be left unpainted.
We used ordinary house paint for several reasons; We had it on hand, we know it is virtually impossible to wash out of clothing and being latex, it does wipe off skin easily.

Sunday, June 27, 2010

Canning - Tomatoes

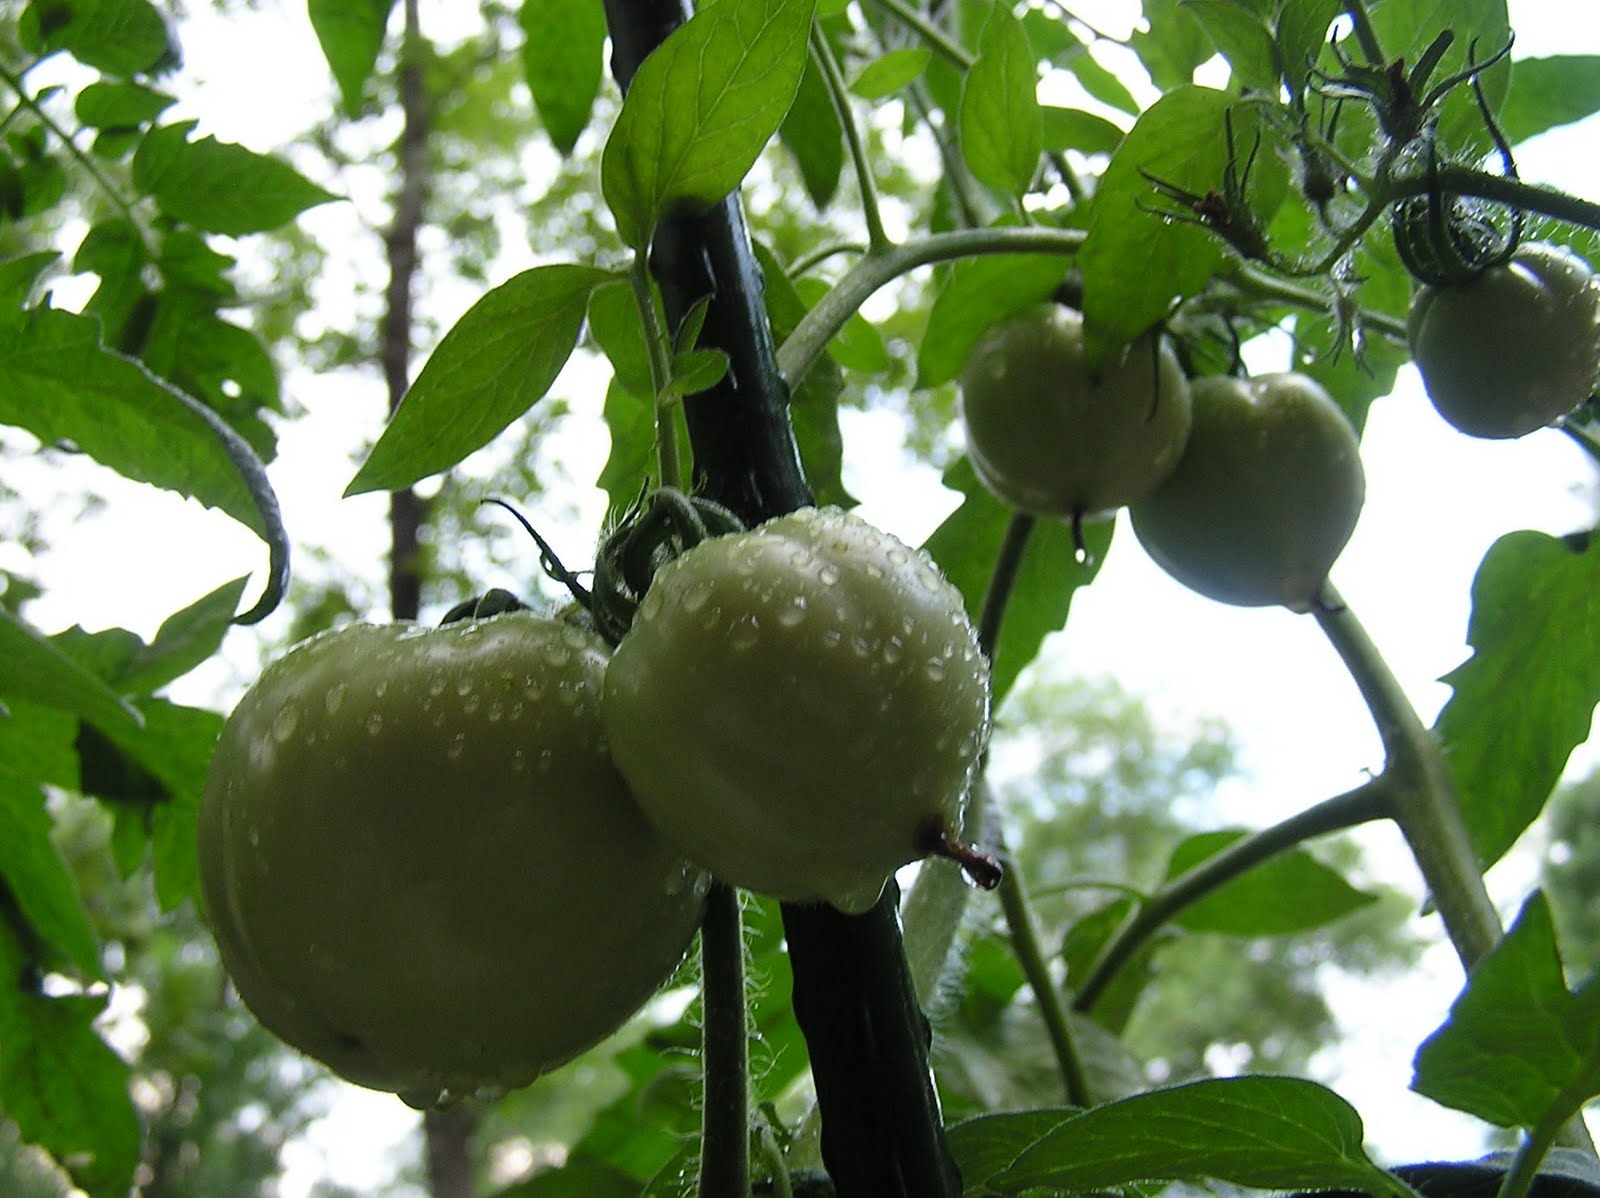
There is magic in a morning on my deck. Weary, wilted leaves from yesterdays' scorching heat are revived. The plants look healthy and happy and flowers holding promise continue to appear. They show no sign of earlier battles against the wind, invading insects or bent and broken branches trimmed away or tied in place while nature makes repairs.Perhaps the sweet satisfaction that comes with a harvest is made possible because of the care and watching and work along the way.
I've chosen a heritage variety of tomato that matures relatively small, about the size of tennis balls. At this size, it will take about 9 tomatoes to fill a quart jar or about 10-12 pounds of tomatoes for a 7 quart "batch". Always begin your canning with clean, sterilized jars, rings and lids ready and waiting, submerged in simmering water.
Wash tomatoes in cold water, eliminating any with blemishes or soft spots. Remember that your finished product will be only as good as the ingredients you use.
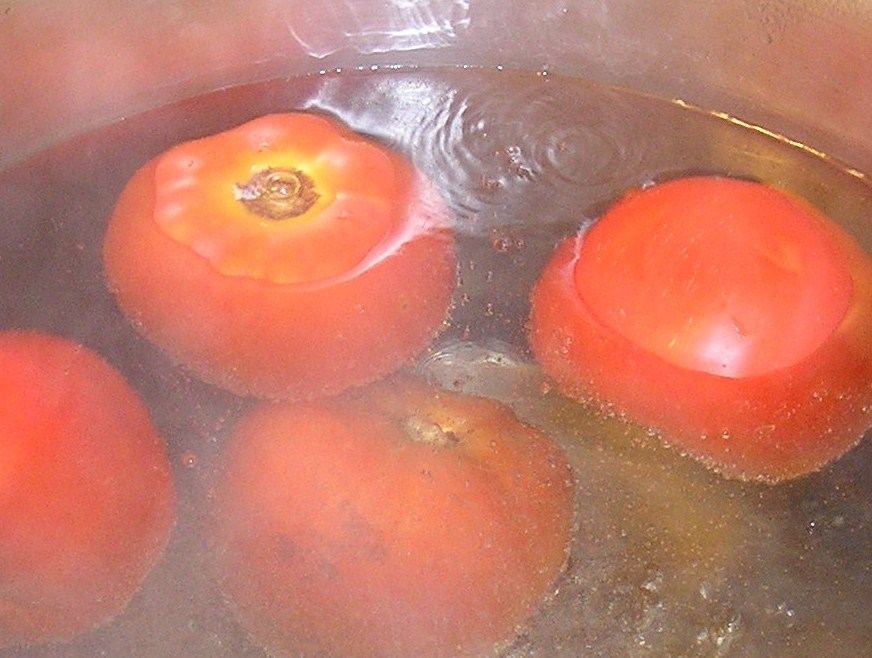
Peeling the tomatoes is a bit of an assembly line project. A few are being peeled and placed in a jar while the next next few are getting a hot bath. To begin, place only 3 or 4 tomatoes in a large pot of simmering water for a minute or two. Each time they are removed from the hot water, replace them with 3 or 4 more to be heating while you are coring and peeling the previous batch.
Remove the tomatoes from the hot water with a slotted spoon or strainer and plunge them immediately into a container of ice cold water. This will stop them from "cooking", make them cool enough to handle.
With the tip of a small paring knife, cut out core and cut away any blemishes and under-ripe areas. The skins will slip off easily once the core is cut away. Tomatoes may be cut in half or quartered or left whole. Add tomatoes to jar, one at a time, cut side down...
pressing them into place on occasion to pack tight, help remove air bubbles and begin to extract natural juice.
When a jar is filled, slide a narrow spatula around sides to remove air bubbles. Adjust surface level to make sure there is 1/2" of head space by removing some of the contents or by adding a bit of boiling water. Add salt and lemon juice to each completed jar: 1 Tbsp of non-iodized, canning or pickling Salt and 1 Tbsp bottled Lemon Juice per quart (1 tsp. each for pints). With clean damp cloth, wipe jar rim and threads. Put on hot, sterilized lids and rings and tighten, comfortably tight. Continue with next jar.
When all jars are filled and capped, put them in canning rack and lower into boiling water. Be sure water level is 1"-2" over top of jars. Cover pot. Begin timing when water returns to boil. Process for 45 minutes at 1,000 ft elevation or below. (Check with your extension office for higher elevation instructions) Place processed jars on a folded towel to cool, leaving room between jars for air to circulate. Do not tighten loose rings while jars are hot as it may break the seal. When jars are completely cool, remove rings and wash each jar with a warm, soapy cloth, rinse, dry, mark date on lid and move to storage. Rings may be reused.

Chocolate, Banana, Nut Muffins - 10 cents each

Every once in a while things just fall into place. I stumbled on a 99 cent sale of items that were almost to their expiration date and grabbed a few. As I was unloading my groceries, out came the box of banana nut muffin mix, with fiber, followed by the box of chocolate cupcake mix. Hummmm?!?!? I started thinking about combining them. Checking the instructions for oven temperatures and baking times, I found that they were not terribly different. I decided to take the average of the baking time and the average of the oven temperature and give it a try. I followed the required amounts of oil, water and eggs for both mixes, combining everything in one bowl.
To the mixture, I added a handful of my dehydrated banana slices and one of chopped pecans from the freezer. The result was 24 super-sized muffins that are among the best I've ever eaten. The taste and texture are perfect...and, they have added fiber. But the best part is that my cost was only $2, plus 4 eggs, or right at 10 cents each. Most of them have been individually wrapped and are waiting in the freezer to be served with morning coffee next weekend when I have guests.

Wednesday, June 23, 2010

4th of JULY...

For 4th of July decorating ideas, recipes, activities and related links, click on "Holidays and Special Occasions" to the left, under the heading "Labels"

Sunday, June 20, 2010

Canning - Della's Sweet and Sour Dill Pickles

This recipe is very sentimental to me. It's the one I have made faithfully for 33 years - wow, that long! It's the one my children love above all others. It was shared with me by a dear elderly woman who has long since left us. I give it to you exactly as it was taught to me...with love. Enjoy!
Makes 9 Pints (or Double the Recipe for Quarts)
Always start with freshly sterilized jars, lids and rings and have your canning water heating. Wash and boil 9 pint jars, lids & rings.
Mix the first 4 ingredients in a pan over medium heat, stirring occasionally, until sugar is dissolved. Bring to a boil.
  • 4 c. Sugar
  • 1/2 scant c. Salt - Not Iodized
  • 1 qt. Vinegar
  • 2 c. Water
While waiting for syrup to boil, prep vegetables in the following amounts.
  • 1 thick onion slice per pint - (2 per quart)
  • 1 (2 inch) piece of celery per pint - (2 per quart)
  • 1 head fresh dill per pint - (2 per quart)
  • 4+ lbs Cucumbers in chunks - cut in half lengthwise, then in 2" pieces Fill each jar with the vegetable ingredients in the following order: For Pint Jars - place 1 onion slice, 1 piece celery and 1 head dill in bottom of jar and fill with cucumber pieces. For Quart Jars - place onion celery and dill in bottom of jar and also on top of cucumber pieces.Pour the hot liquid into the packed jars. Wipe the jar rims with a clean damp cloth, add lids and rings and screw down only 'comfortably tight'. Put sealed jars into canning rack and lower into hot canning water - enough to cover the tops by about an inch. Bring to the boiling point. Do not boil. Immediately, take the jars from the hot water and set them close together on a folded towel. Cover with an old coat until they are cold. Let age 30 days before using.
Now that I'm in Florida, there are no "old coats" so a heavy, old bedspread, folded in many layers makes a cozy cover. Once the jars are completely cool, often 18-24 hours, check to make sure all the lids are properly sealed, remove the metal rings and wash the jar threads before putting them away.
Just a couple of personal notes: For storing the jar rings, I've taken a single strand of wire, a coat hanger would do, and twisted a loop for hanging on one end and attached a jar ring with a hook of the wire at the other end. All the rings thread onto the wire and hang within easy reach during the canning season. For winter storage, the two ends of the wire are brought together and the hook is pinched around the loop, making a neat bundle. Also, since my kitchen storage space is limited and because I really, really like looking at my handiwork, the filled jars are stored on display above the cabinets.

The University of Colorado has a "quick-read" overview of the pickling/canning process with a couple of recipes. Link HERE.