Showing posts with label Gifts. Show all posts

Tuesday, December 18, 2012

Fringe Scarf - DIY

The first fringe scarf I saw put me in mind of a very special gal I know.  When I discovered it was made from a T- shirt, I thought. "I can do that!"
 
Nothing to sew!
Sooooooo simple!
Even the beading is a piece of cake.

All that's needed is a "tube" T-shirt (one without side seams) and a pair of scissors.

It doesn't matter if the T-shirt is a solid color or striped or has printing or pictures on it.

The orange lettering on my white T resulted in interesting little flashes of color on the white fringe.

INSTRUCTIONS
1. Lay the shirt out flat. Imagine a straight line from underarm to underarm & cut along that line.
2. Discard the top portion (the part with the sleeves) then cut off the hem and set it aside.
3.  Begin cutting strips, about 1" wide, (from what was hem toward what was neck) stopping about 3" short.


4.  Once all your strips are cut, PULL each strip as hard and as far as you can.  You'll be surprised how long they get and they curl (roll) on their own.
THAT'S IT.  YOU'RE DONE.  ALMOST INSTANT SCARF!
NOTES:
1.  An extra-large T-shirt will make a scarf that can be twisted into a figure 8, going twice around the neck, resulting in a bulkier look.
2.  When beading, it might be necessary to narrow the strips that are going to take beads so that they will fit through the bead holes.  I just cut those strips in half, making two narrower strips out of the ones I was going to bead and knotted the strips below the beads so they wouldn't come off.
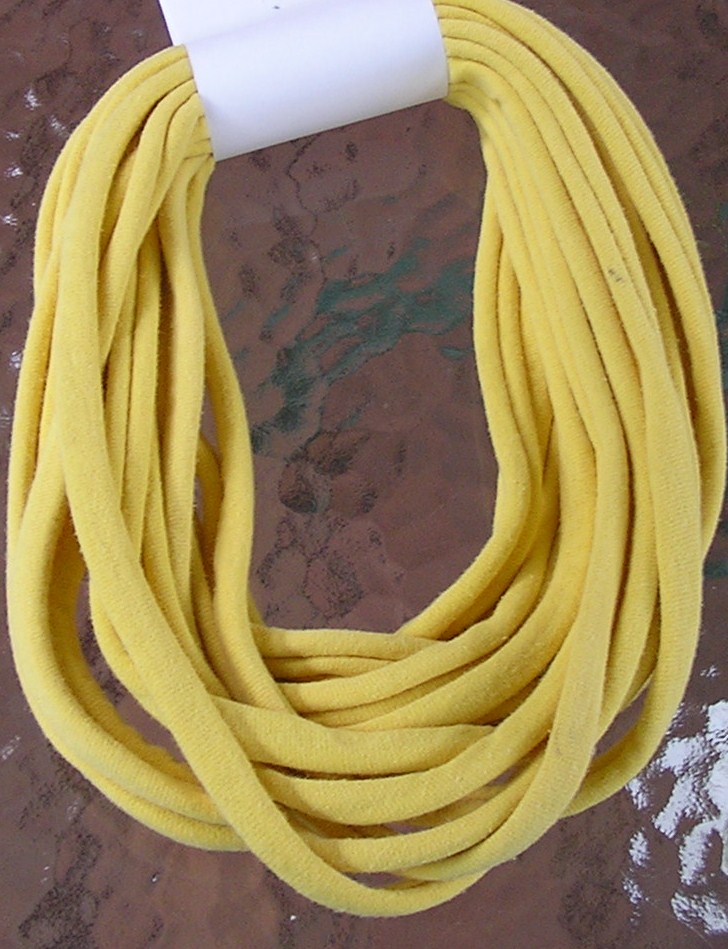
THE "INFINITY" SCARF
It doesn't get any easier than this.
Start cutting strips, this time across the body of the shirt tube instead of up and down.  Make the strips 2 1/2' to 3" wide.   Don't worry about being neat or exact measurements.  It doesn't matter.  Once cut, you need to pull/stretch each piece as far as you can.

  Your arms probably aren't long enough so use your foot or loop it over a doorknob or get a friend to help.  These make really long loops.  Once they are all stretched, cut a small strip from the discarded t-shirt top to use as a tie to join the long loops together in a bunch.  

To wear the infinity scarf, just toss it over your neck, twist and repeat 2 or 3 times.  Keep the place where the loops are tied together at the back of the neck.

SO - WHAT TO DO WITH THE "HEMS"?
I can't stand the thought of wasting anything, so help me find a use for these hem pieces.  Could they be hair scrunchies?  Bracelets?  Ankle wraps?  They would make good ties for staked plants in the garden.  Any ideas?  Leave a comment.
So here they are, 4, over-the-hill, T-shirts turned into 4 scarfs on a rainy afternoon. Cost...$0.  I'm still finding cash!
 

Gift Tags - DIY


Easy, adorable & inexpensive. Fast, felt, gift tags even double as ornaments.
Plain, white, peel n' stick labels adhere beautifully to felt and provide a writing surface for the "To" and "From" information needed for gifts. Stick it on, cut out a simple pattern and embellish with whatever is on hand. I snipped a few twigs from the yard to serve as tree trunks and sandwiched them between the felt and the label and added a small dot of glue, as an added precaution, but I don't think it was necessary. No-sew simple. A great activity to keep the kids busy and included in the preparations.

Monday, March 28, 2011

Springtime Calls for Aprons


Spring makes me smile. Whether this time of year has us looking forward to spring blossoms or spring cleaning or getting a vegetable garden started with thoughts of fresh vegetables on the table or jars of fresh-canned goodness growing in numbers on our pantry shelves, spring seems to bring us home to a simpler time and to our roots. And, what takes us back to simpler times faster than putting on an apron. I remember my mother's Hostess Aprons and my grandmother's kitchen apron. I have an apron for painting and have made my children and grandchildren Crayon aprons. There's something about being 'dressed for the occasion' even if the occasion is getting down on hands and knees and dirty in the soil of a garden. Aprons also make great, unique gifts - tucked in a tote of bar-b-q utensils or a housewarming bucket of cleaning supplies. One of my favorite websites is Amelia's Aprons, featuring handmade creations from the Edwardian style to the little pocketed garden apron I've shown here. Take a look. You just might find something to make you smile, too.

Wednesday, April 28, 2010

Making Beds for 18" Dolls

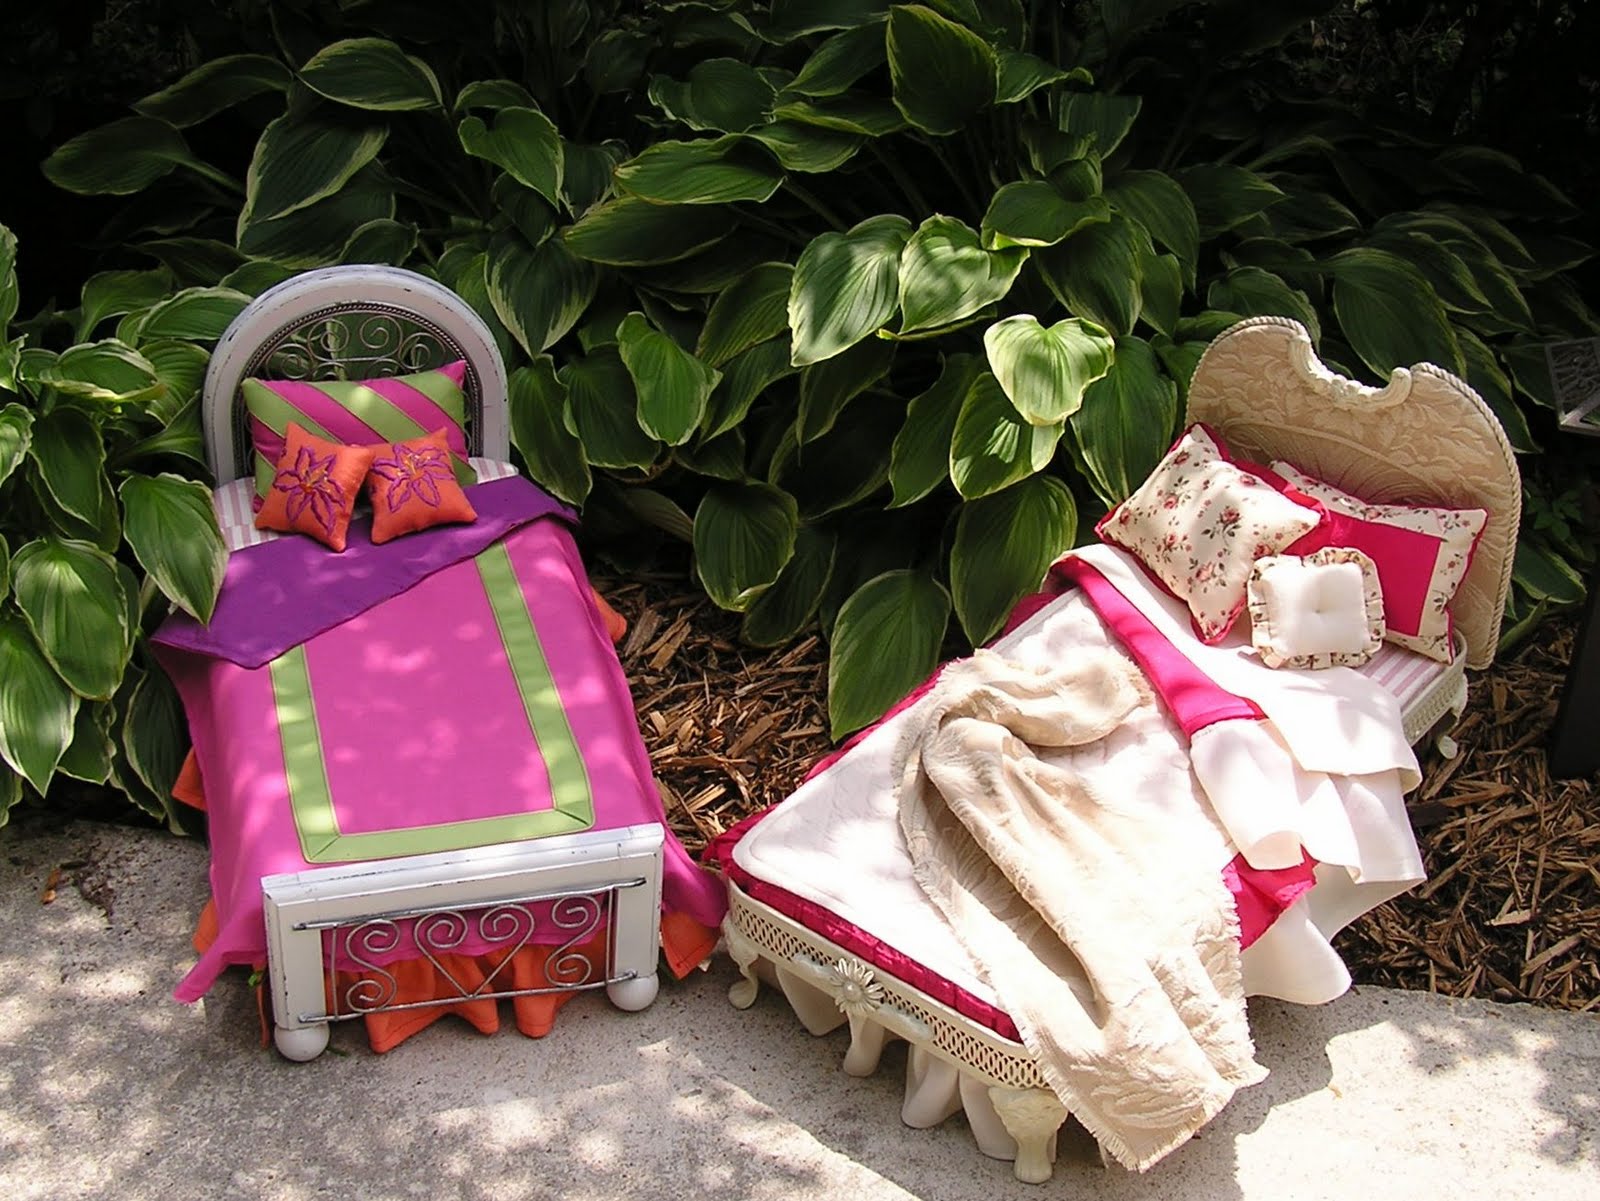
Reacting to an email photo of granddaughters holding their new 18" dolls, titled "Two Very Happy Little Girls", I shot back an email saying that I would make beds for them. Without a clue of where to begin, I headed to a local thrift store for inspiration and, hopefully, materials.
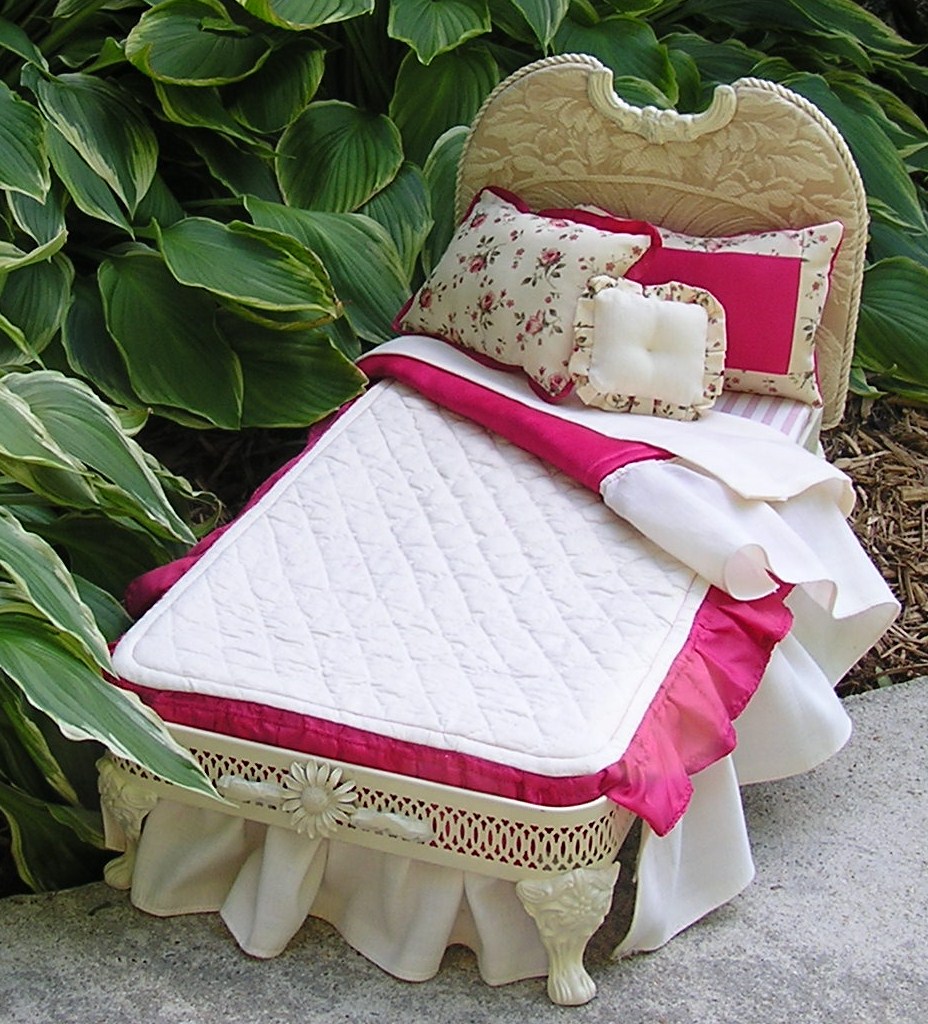
The old silverplate casserole holder seemed a natural starting point because it had such lovely legs and was generally the shape of a bed. Next, I found a wire and wicker letter holder with an arched back that looked like it might be somehow attached to the casserole frame to make a headboard. Finally, I came across a pitiful mirror in a fairly nice, arched-top, wood frame that I thought would make a headboard for the second bed if I replaced the mirror with an upholstered insert.

Pleased with my "finds", I headed home to take things apart, cut things in half and generally get a grip on my pending project. To my surprise, the arched, wire back of the letter holder fit perfectly into the mirror frame........ It was time to reconsider.
Eventually, the handles were cut from the casserole holder and it was sawed in half to extend the length. a scrap of plywood was upholstered and screwed in place as a headboard. One of the handles adorns the top of the headboard. An old earing fills the gap at the foot of the bed where the handle stubs remain.
The mirror frame was cut to provide both the headboard and footboard frames and the wire sections from both the back and the front of the little letter holder filled the gaps perfectly. The bed was a bit too low to the ground so I added wooden beads as bun-feet.
The basic construction is simply a piece of plywood to which the headboard and footboard of each bed are attached. Blocks of cushion foam are hot-glued in place as mattresses.

The linens are made mostly with leftover sewing project scraps and fabric from old clothing with only 1/2 yard each of the pink and purple cotton having to be purchased. Spray paint I had on hand. My total cost for the two beds was $6. However, the investment in time was quite extensive but much of that was spent simply figuring out what I was going to do and how I was going to do it. For that reason, the second bed went much faster than the first.

Looking back at the project, I realize that my enjoyment of every minute was actually a gift to me from two little granddaughters who live so far away. As long as I was working on their doll beds, they felt very near and I loved the fact that I know their personalities and favorite colors and the things that make their young worlds turn. I have my daughter to thank for that.

Monday, July 20, 2009

Budget Gifts Just Need a Little Imagination

Finding the right gift for someone can be difficult under the best of circumstances but when there is little or no money to spare, it can be sheer agony. Try substituting thoughtfulness and add a bit of creativity for the cost. You may find that yours is the only gift remembered.

I'll be adding to this category from time to time so check back in. For now, here are a couple of ideas:

THE 50 CENT GIFT BASKET

I recently bought some multi- packs of the new light bulbs, (the cheapest I could find) and noticed that each bulb came in its own little unmarked box. What a discovery! I knew they would come in handy some day.

The apple mugs were $.25 each at a yard sale and the little basket was free. I took a picture of the apple on a mug and printed it out for a homemade card, the label on the Spiced Cider Mix (in the light bulb box) and the tag on the candle (left over from last Christmas). I will need to buy some cinnamon sticks but for the purpose of getting a photo to you, I just grabbed some twigs from the woods and tied them together with raffia.

The finished basket will make a nice gift for an autumn birthday, a mother whose child is headed off to school for the first time or someone who is under the weather. The mugs could also be given individually as teacher gifts, filled with cinnamon candies, and wrapped in cellophane gathered at the top and tied with a red bow.

The Gardener's Pot is a breeze to put together, a little more costly but a thoughtful gift when visiting over the summer. The pot was $.50 new at a yard sale. The spiral bound book is blank inside for a gardener's notes. Hand tools and garden gloves are extremely inexpensive as are a few packets of seeds. The little spray bottle contains Listerine with a handmade tag that explains its use a mosquito repellent and the card is made using one of my old photographs. Everything is coordinated in the recipient's favorite color - blue.

Remember that a gift is always more memorable, appreciated and special when it reveals that you actually KNOW something about the recipient - a favorite color, activity, struggle, leisure, flavor, etc. So, make your gift giving lists now and keep your favorite people in mind, looking for ideas as you go through your days, read magazines, watch television and roam the aisles of stores. And visit here often for more ideas.