Sunday, July 25, 2010

New Life for Old Mirror

Sometimes I just need to forget about the weather, finances and my incredibly long 'to do' list and chill. When painting, reading and letters require too much thought, my favorite do-nothing pastime is making something from nothing.
Several months ago, I picked up an old gilded mirror for $3 at a yard sale knowing that I would paint it white. Can't get enough white! Still, it was a genuine antique of good original quality and must have been quite expensive in it's day. I dutifully mourned it's fall from grace and finally accepted the fact that if it were possible to magically restore it's pristine condition and golden glory, it would not even belong in my house.
I considered darkening the crevasses to mimic eons of dust accumulation but the carvings were so nice and deep that it was not necessary in order to bring out the design. Simple shadows took care of that. Then I though I'd sand the raised surfaces to represent the wear from years of dusting and rubbing across the surface. That wouldn't work because it revealed the gold underneath. Finally, I just pulled out a dark brown marker and hit the high spots and corners where wear would have taken place. I thought the contrast was a bit stark at first but the water based marker began to fade into the white undercoat. The result was a bit subtle, showing it's age and wear and shabby to the max. It fits perfectly into my eclectic mix. Happy day!

Thursday, July 15, 2010

Starting with a Clean Slate

I found this link today and love it. If you're thinking about clearing the clutter, check it out. The concept of doing it backwards never occurred to me and sounds fantastic. Let me know what you think.

Wednesday, July 14, 2010

Afternoon Fun for 33 cents

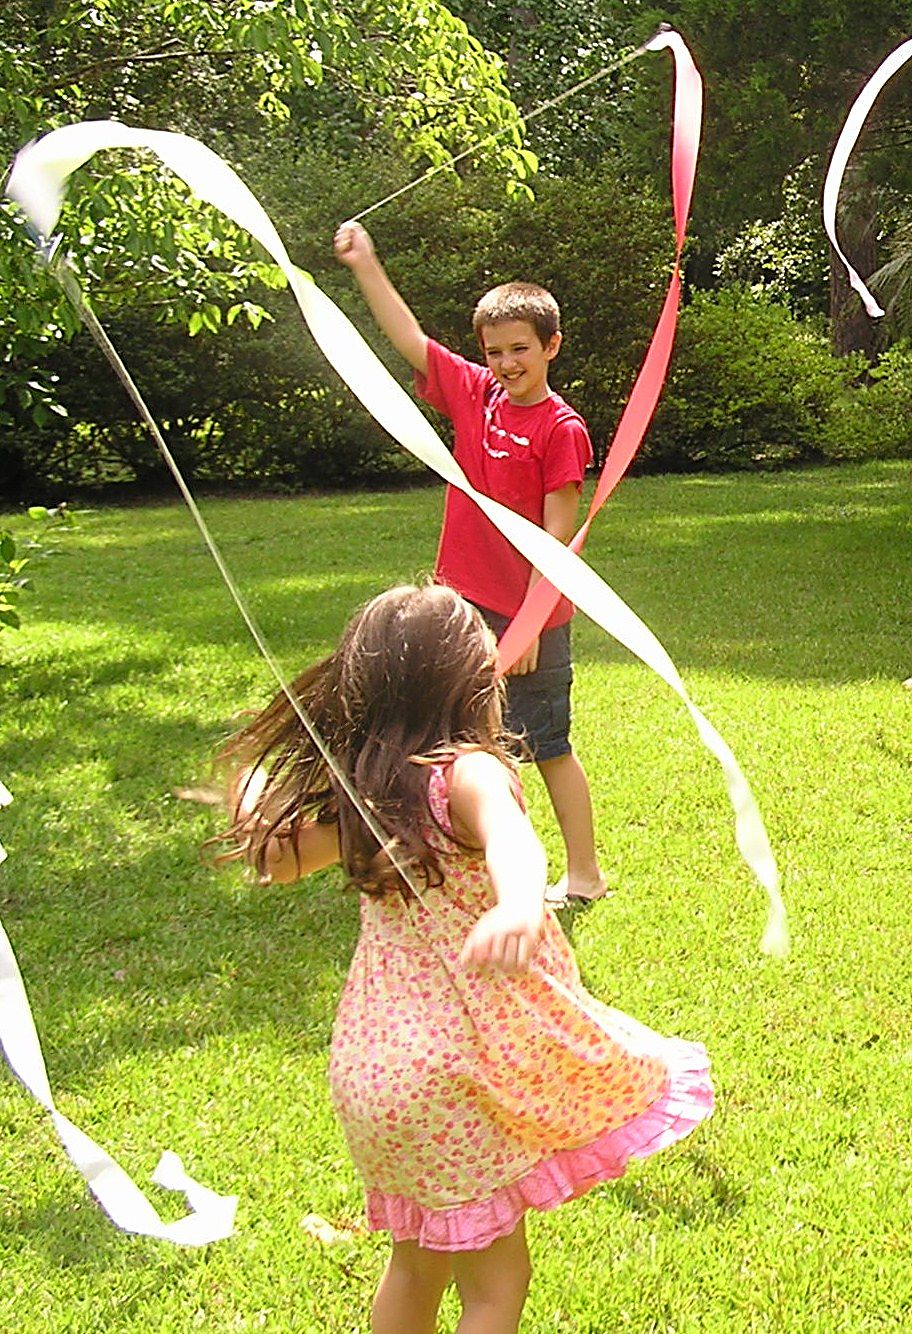
I remembered a "thing" that I loved as a child. It was a simple streamer on a string that turned an ordinary afternoon into something approaching magical. It could be swirled around you, low at your feet or over your head, like a cowboy's rope. You could swing it to make huge, fluttering figure eights or run, fanning your arm up and down as you went so that it looked like you were being chased by a Chinese dragon, and the taut rubber on the wire, hummed and whistled in the wind.
I could never find them in the store for my own children and supposed they had gone out of fashion in the 60's and never thought of trying to make one until this spring. I remember the basic elements but remember the wire and cardboard as larger. However, I also remember my hands as much smaller so it's anybody's guess. the rubber band also is not quite right and mine did not hum. The ones we played with as children had a wider piece of rubber that was stretched so tight it would whistle in the wind.
In June, I posted a photo of an intended project, the collection of "stuff" on the left. The collection includes packages of $.33 crepe paper streamer rolls, wire coathangers, cardboard, rubber bands, tape, string, stapler, wire cutter and needle nose pliers.
The photo on the right should be self explanatory...a length of shaped wire, with rubber band, a string, and cardboard folded around the wire with the end of a streamer stapled inside. The measurements are non-specific. The cardboard is a little wider than the streamer. The bend of the coathanger is a little wider than the cardboard. The string is about the length of the distance between a child's hand and the ground and the streamers are 6-7 feet long for younger children and 10-14 feet long for older children.

If you have found these in the store or have a better configuration, please let me know.

Monday, July 5, 2010

4th of July Update


This Independence Day was the best, most meaningful and most fun gathering that I can remember in a very long time. I'm in the process of editing photos and should have a re-cap ready to post tomorrow. So, check back in later and find out what we did, what worked, what were the huge successes and what were the duds.

Child Friendly T-shirt painting

Several painting techniques are extremely easy for children. The potato print is one. We used a cookie cutter to establish our shape, sinking it deep enough into the potato half to give us a metal "stop" when cutting away the excess. A plastic place mat is perfect for inserting into the shirt to keep the paint from soaking through to the back of the shirt. A smooth surface mat will provide a truer impression. We used a textured mat for dimension. Simply letting paint drizzle from the end of a stir stick produces instant modern art. Using a foam brush to apply paint to a sea sponge allows the children to cover a large area at a time without gobbing on the paint and the foam brush is an easy applicator for painting directly and painters tape provides a general guide.
The twins had watched the older children and knew exactly what to do with no instruction at all - as if it would have made a difference. They went right to work while an inverted plate protected areas to be left unpainted.
We used ordinary house paint for several reasons; We had it on hand, we know it is virtually impossible to wash out of clothing and being latex, it does wipe off skin easily.

Sunday, June 27, 2010

Canning - Tomatoes

There is magic in a morning on my deck. Weary, wilted leaves from yesterdays' scorching heat are revived. The plants look healthy and happy and flowers holding promise continue to appear. They show no sign of earlier battles against the wind, invading insects or bent and broken branches trimmed away or tied in place while nature makes repairs.Perhaps the sweet satisfaction that comes with a harvest is made possible because of the care and watching and work along the way.
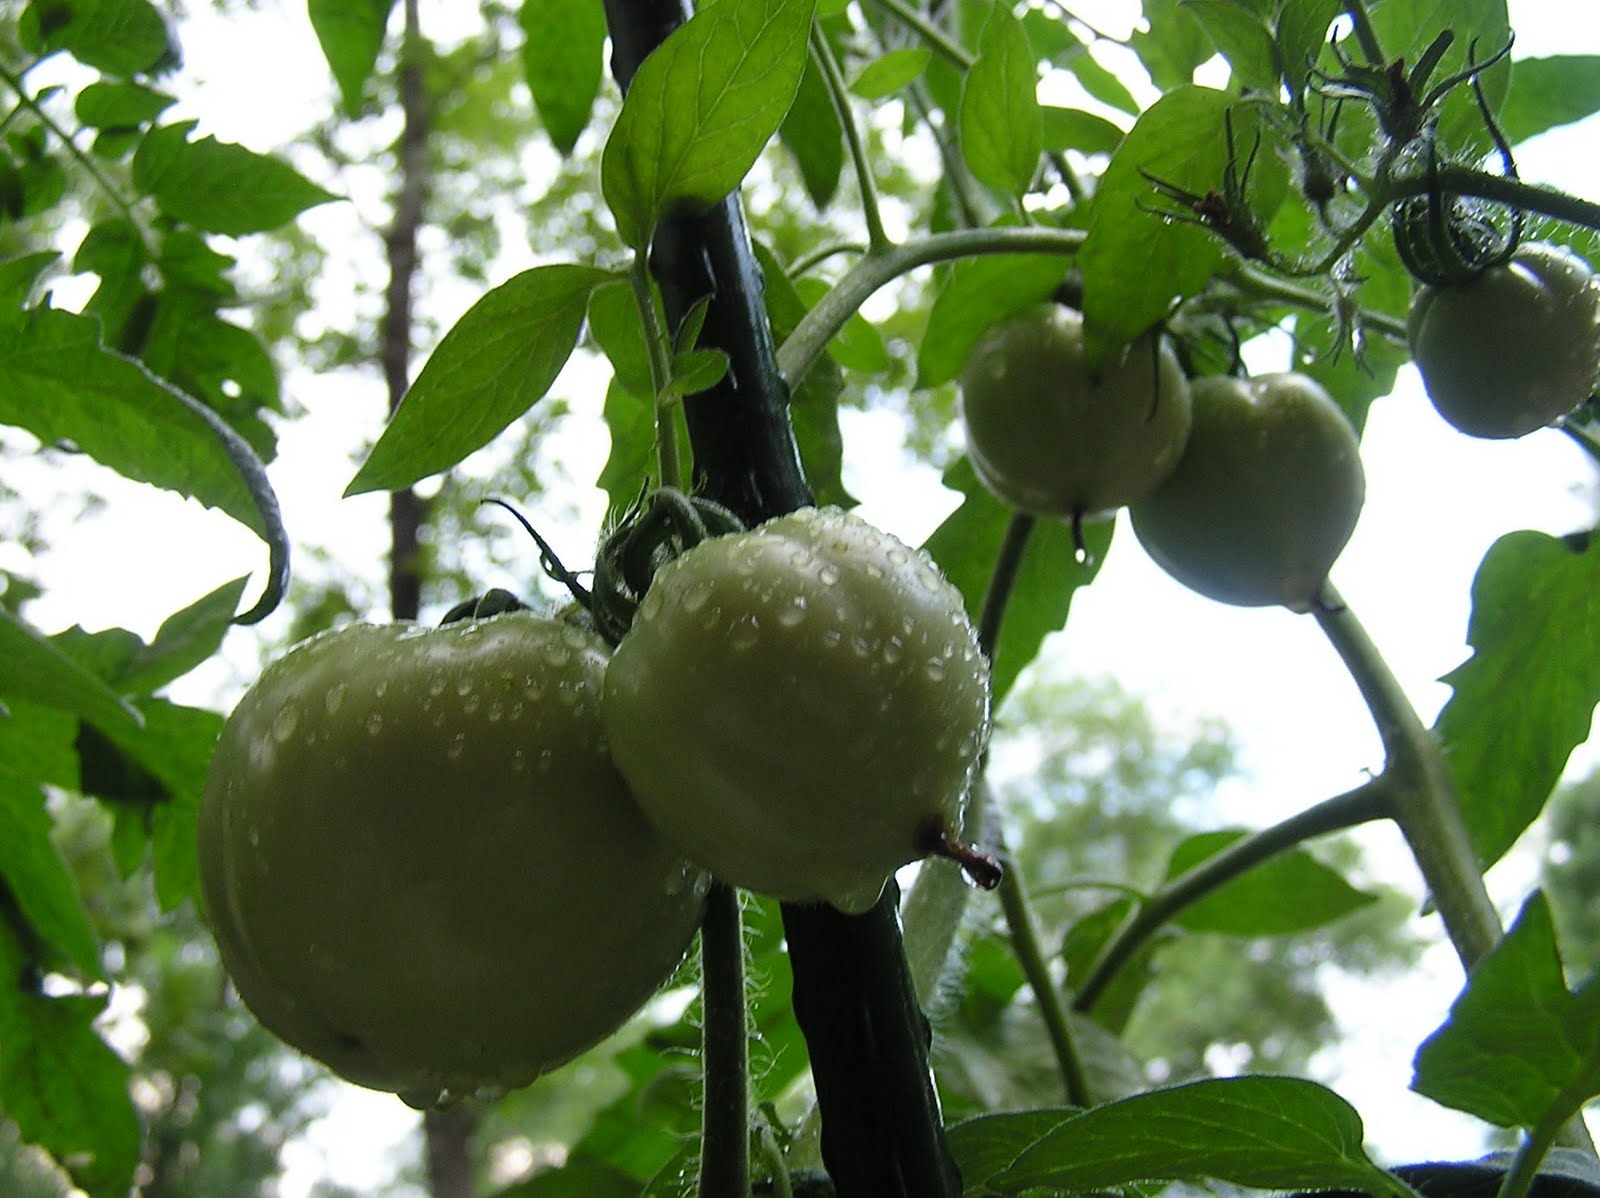
I've chosen a heritage variety of tomato that matures relatively small, about the size of tennis balls. At this size, it will take about 9 tomatoes to fill a quart jar or about 10-12 pounds of tomatoes for a 7 quart "batch". Always begin your canning with clean, sterilized jars, rings and lids ready and waiting, submerged in simmering water.
Wash tomatoes in cold water, eliminating any with blemishes or soft spots. Remember that your finished product will be only as good as the ingredients you use.
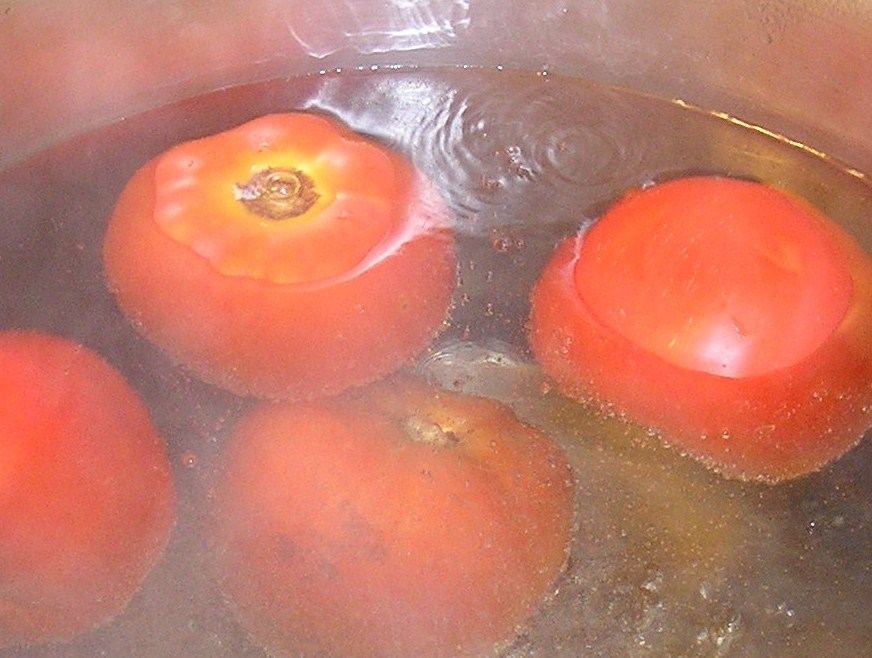
Peeling the tomatoes is a bit of an assembly line project. A few are being peeled and placed in a jar while the next next few are getting a hot bath. To begin, place only 3 or 4 tomatoes in a large pot of simmering water for a minute or two. Each time they are removed from the hot water, replace them with 3 or 4 more to be heating while you are coring and peeling the previous batch.
Remove the tomatoes from the hot water with a slotted spoon or strainer and plunge them immediately into a container of ice cold water. This will stop them from "cooking", make them cool enough to handle.
With the tip of a small paring knife, cut out core and cut away any blemishes and under-ripe areas. The skins will slip off easily once the core is cut away. Tomatoes may be cut in half or quartered or left whole. Add tomatoes to jar, one at a time, cut side down...
pressing them into place on occasion to pack tight, help remove air bubbles and begin to extract natural juice.
When a jar is filled, slide a narrow spatula around sides to remove air bubbles. Adjust surface level to make sure there is 1/2" of head space by removing some of the contents or by adding a bit of boiling water. Add salt and lemon juice to each completed jar: 1 Tbsp of non-iodized, canning or pickling Salt and 1 Tbsp bottled Lemon Juice per quart (1 tsp. each for pints). With clean damp cloth, wipe jar rim and threads. Put on hot, sterilized lids and rings and tighten, comfortably tight. Continue with next jar.
When all jars are filled and capped, put them in canning rack and lower into boiling water. Be sure water level is 1"-2" over top of jars. Cover pot. Begin timing when water returns to boil. Process for 45 minutes at 1,000 ft elevation or below. (Check with your extension office for higher elevation instructions) Place processed jars on a folded towel to cool, leaving room between jars for air to circulate. Do not tighten loose rings while jars are hot as it may break the seal. When jars are completely cool, remove rings and wash each jar with a warm, soapy cloth, rinse, dry, mark date on lid and move to storage. Rings may be reused.

Chocolate, Banana, Nut Muffins - 10 cents each

Every once in a while things just fall into place. I stumbled on a 99 cent sale of items that were almost to their expiration date and grabbed a few. As I was unloading my groceries, out came the box of banana nut muffin mix, with fiber, followed by the box of chocolate cupcake mix. Hummmm?!?!? I started thinking about combining them. Checking the instructions for oven temperatures and baking times, I found that they were not terribly different. I decided to take the average of the baking time and the average of the oven temperature and give it a try. I followed the required amounts of oil, water and eggs for both mixes, combining everything in one bowl.
To the mixture, I added a handful of my dehydrated banana slices and one of chopped pecans from the freezer. The result was 24 super-sized muffins that are among the best I've ever eaten. The taste and texture are perfect...and, they have added fiber. But the best part is that my cost was only $2, plus 4 eggs, or right at 10 cents each. Most of them have been individually wrapped and are waiting in the freezer to be served with morning coffee next weekend when I have guests.

Wednesday, June 23, 2010

4th of JULY...

For 4th of July decorating ideas, recipes, activities and related links, click on "Holidays and Special Occasions" to the left, under the heading "Labels"

Sunday, June 20, 2010

Canning - Della's Sweet and Sour Dill Pickles

This recipe is very sentimental to me. It's the one I have made faithfully for 33 years - wow, that long! It's the one my children love above all others. It was shared with me by a dear elderly woman who has long since left us. I give it to you exactly as it was taught to me...with love. Enjoy!
Makes 9 Pints (or Double the Recipe for Quarts)
Always start with freshly sterilized jars, lids and rings and have your canning water heating. Wash and boil 9 pint jars, lids & rings.
Mix the first 4 ingredients in a pan over medium heat, stirring occasionally, until sugar is dissolved. Bring to a boil.
  • 4 c. Sugar
  • 1/2 scant c. Salt - Not Iodized
  • 1 qt. Vinegar
  • 2 c. Water
While waiting for syrup to boil, prep vegetables in the following amounts.
  • 1 thick onion slice per pint - (2 per quart)
  • 1 (2 inch) piece of celery per pint - (2 per quart)
  • 1 head fresh dill per pint - (2 per quart)
  • 4+ lbs Cucumbers in chunks - cut in half lengthwise, then in 2" pieces Fill each jar with the vegetable ingredients in the following order: For Pint Jars - place 1 onion slice, 1 piece celery and 1 head dill in bottom of jar and fill with cucumber pieces. For Quart Jars - place onion celery and dill in bottom of jar and also on top of cucumber pieces.Pour the hot liquid into the packed jars. Wipe the jar rims with a clean damp cloth, add lids and rings and screw down only 'comfortably tight'. Put sealed jars into canning rack and lower into hot canning water - enough to cover the tops by about an inch. Bring to the boiling point. Do not boil. Immediately, take the jars from the hot water and set them close together on a folded towel. Cover with an old coat until they are cold. Let age 30 days before using.
Now that I'm in Florida, there are no "old coats" so a heavy, old bedspread, folded in many layers makes a cozy cover. Once the jars are completely cool, often 18-24 hours, check to make sure all the lids are properly sealed, remove the metal rings and wash the jar threads before putting them away.
Just a couple of personal notes: For storing the jar rings, I've taken a single strand of wire, a coat hanger would do, and twisted a loop for hanging on one end and attached a jar ring with a hook of the wire at the other end. All the rings thread onto the wire and hang within easy reach during the canning season. For winter storage, the two ends of the wire are brought together and the hook is pinched around the loop, making a neat bundle. Also, since my kitchen storage space is limited and because I really, really like looking at my handiwork, the filled jars are stored on display above the cabinets.

The University of Colorado has a "quick-read" overview of the pickling/canning process with a couple of recipes. Link HERE.

Thursday, June 17, 2010

Hot Dog Variations

Slaw Dog:
Fill toasted bun with grilled wiener, edge with a line of mustard and one of ketchup. Sprinkle with chopped onions and pile high with Coleslaw.

Bacon/Kraut Dog:
Slice wiener lengthwise so that it will open but not be cut all the way through. Grill open side down. Fill with well drained sauerkraut and a slice of crisp, pre-cooked bacon. Serve in soft bun topped with a slice of Swiss cheese, brown mustard and additional Sauerkraut.

Chili Cheese Dog:
Grill one side of wiener. Cut a pocket slit on the grilled side and fill with strips of American or Cheddar cheese. Return to grill to cook bottom side. Place in toasted bun and top with Chili, chopped onions and jalapeno slices.

Plain Ol' American Hot Dog:
Place boiled or grilled wiener on soft bun, top with yellow mustard, ketchup, sweet pickle relish and chopped onion.

Photos will be posted after the 4th of July

Sugar Cookies

This cookie dough can be rolled into balls and pressed flat but I'm rolling it out, chilling it and cutting it into shapes.
  • 1 stick Margarine
  • 1/2 c. Oil
  • 1 c. Sugar
  • 1 Egg
  • 2 tsp. Vanilla
  • 2 1/2 c. Flour
  • 2 tsp Baking Powder
  • 3/4 tsp. Salt
Cream together first 5 ingredients. Then sift next 3 ingredients into mixture. Roll between sheets of wax paper to 1/4" thick. Leave between paper and refrigerate 2 hours. Remove top paper. Cut star shapes with cookie cutter. Remove excess cookie dough. Turn dough and paper upside down on cookie sheet. Remove paper. Bake at 350 for 10 minutes. Sprinkle with colored sugar before baking or apply icing after cookies cool.

Homemade Ice Cream - no cook

This is a family recipe at least 4 generations old. My siblings and my children fondly remember hot summer days, swimming at the lake and taking turns on the old hand-crank ice cream maker. My father liked this recipe because it didn't start with a cooked, custard base. The flavor is incredible, the texture, crisp and I remember the brain-numbing cold. My arms are not so strong these days and electric makers are certainly quick and convenient but the delight of my memories are so tied to the shared labor, the sweet summer smells and the melting salt that I cannot imagine giving that up for the sake of convenience.
  • 5 eggs
  • 1 1/2 c Sugar
  • 1 can Sweetened Condensed Milk
  • 1 can Evaporated Milk
  • 1 Tbsp. Vanilla Extract

Blend ingredients in blender. Pour into freezer canister. Fill canister with milk to the "fill" line. Freeze in Ice Cream Freezer until hard.
NOTE: Strawberries, Blueberries, chopped Peaches etc. can be added before filling canister with milk.

Easy Baked Beans

Thoroughly drain cans of the least expensive pork and beans you can buy. Pour beans into bean pot or cassarole that has been prepared with cooking spray.
Stir in the following:

  • Chopped Onions
  • Ketchup - a good amount
  • Yellow Mustard - about 1/4 the amount of Ketchup
  • Brown Sugar - equal to the amount of Ketchup
Top with
  • Strips of uncooked Bacon
Bake uncovered at 350 for 1 to 1 1/2 hours - until sauce thickens but is not dry.

Photos will be posted after the 4th of July

My Southern Potato Salad

  • 5 lbs Russet Potatoes - Peel, cube and boil in well salted water until done. Drain. Cool.
  • 1/2 - 1 c. finely chopped Onion - according to preference and strength of the onions
  • 1 doz. Hardboiled Eggs - peeled & chopped
  • 1 c. Dill Pickles - chopped
  • 1 large jar Pimento - diced
  • 2 tsp Celery Seed
  • 1 tsp Hot Pepper Sauce OR 1/2 tsp Cayenne
  • Salt & Pepper to taste
  • 1/2 c. Ketchup
  • 1/4 c. yellow Mustard
  • 1 c. Mayonnaise (plus)

Put ingredients in large bowl in reverse order from listing (starting with Mayonnaise). Stir well after each item is added. Once potatoes are finally added, continue mixing in additional Mayonnaise until everything is well moistened and the texture is to your liking. Transfer to serving bowl. Sprinkle surface with Paprika. Cover and refrigerate several hours before serving. Best if made the day before use.

Photos will be posted next week.

Coleslaw Recipe #1

Best Coleslaw for Hot Dogs
  • 1 small head Cabbage - shredded fine
  • 1 small onion - chopped very fine
  • 2 Tbsp. Sweetened Condensed Milk
  • Mayonnaise to properly moisten

OR use a bag of pre-shredded coleslaw and reduce amount of onion and cut Sweetened Condensed Milk to 1 Tbsp.
Stir all ingredients thoroughly and chill at least 3 hours before serving. Best if made the day before.

Other Coleslaw Recipes will be posted over time.

Sauerkraut Plus

As a Hot Dog garnish, sauerkraut directly from the grocery store is adequate. I serve two variations, one simply heated "as is" and a second to which I add a sprinkling of Caraway Seeds. With the Caraway Seed variation, I like to add the seeds, heat just to the boiling point, cover, remove from heat and let stand for the flavor to blend. Yummy.

Chili for Hot Dogs

In a crock pot, combine:
  • 1 lb. Ground Beef
  • 2 cans Tomato Paste
  • 2 tomato paste cans of Water
  • 1 tomato paste can of Ketchup
  • 3/4 c. Onion - chopped fine
  • 2 Tbsp. Chili Powder
  • 1/4 tsp. Garlic Powder
  • 1/2 tsp. Salt
  • 1 Tbsp Cocoa Powder

Cook on High 4 hours or until thick. Will make 2 dozen Chili Dogs.

Tuesday, June 15, 2010

Resisting the "I Want" Temptation

I had to run into a big chain store today while we were in the city. Unfortunately, from the front door, to the garden center, to housewares and beyond, my "I want" bells were going off at every turn. There was red, white and blue everything. Beautiful things. Ordinary things. Useful things. Frivolous things...and I wanted them all. I could see my 4th of July table set with the stemware and hard plastic dinnerware. I could almost
taste the lemonade from the decorative pitchers

and jugs, see the red, white and blue lanterns hanging from the trees. In fact, I don't think I saw anything that I didn't want. I wanted it all. And I really had to fight with myself to resist.

The truth is that I do have the money. I could have splurged. I could have rationalized and I came so close to giving in. Then I reminded myself that I am into this blog thing for real, that my ability to be helpful is no better than my ability to practice what I preach.

I left the store with only the few items that were on my list and sadly admit that it did not make me feel all warm and fuzzy inside. I felt somehow deprived. On the 40 mile trip home, I thought about my pitiably small stash of patriotic parts and pieces and how I planned to turn my initial $26 splurge into anything remotely approaching the majesty I had just denied myself. Truthfully, $13 worth of that $26 has already been used to decorate the front porch.

But I still have table cloths and plates and bowls and flowers and flags that I was thrilled to have until I saw today what I was missing. But as I write this, suddenly NOW, I have that warm fuzzy feeling. Now, I remember how it felt to make a home-made wreath with my granddaughter. Now, I remember that I'm painting patriotic T-shirts with 6 more little "grands" next weekend. Now, I'm excited again about the "doing" and not the "having"...and you can't buy that at any store.

Monday, June 14, 2010

The Trick to a Lazy/Busy Day

One of my favorite things is accomplishing a lot without doing much and yesterday was one of those days. As the temperatures outside climbed into triple digits, I enjoyed a day of air conditioning and took advantage of it get the freezer filled with quick meal starters and main dishes.
Over the years I've developed a method of bulk-cooking that not only cuts food and utility costs, it saves tons of time, both on the day it's done and for weeks to come. The bottom line is that it's my way of using all the methods of cooking, found in my kitchen, at one time....a "get-in and get-out", mass production sort of thing where the kitchen does the work and I basically supervise...saving money and time.
Click on menu items below to be linked to recipes.
After one hour in the kitchen, yesterday morning, I spent the day relaxing with a book, playing on the computer and watching a movie marathon, returning to the kitchen only occasionally during commercials. In a half hour, in the late afternoon, I packaged and filled the freezer with 40 single servings of
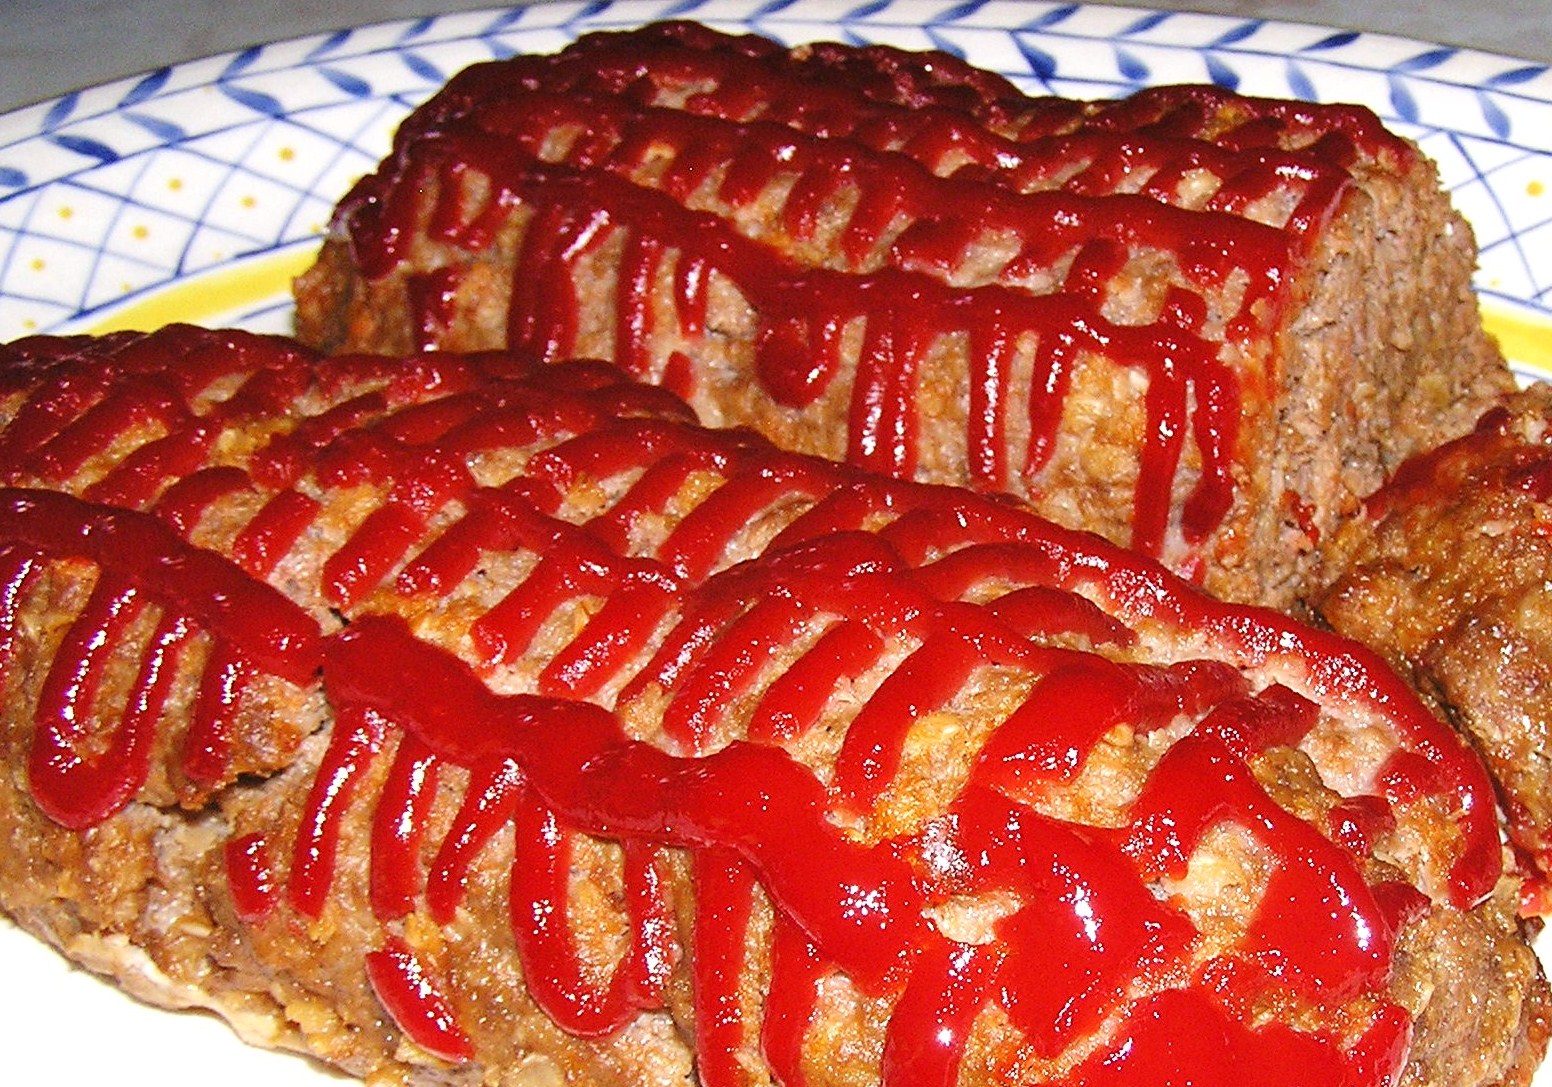
Classic 1040's Southern Meatloaf (30) and Old-Fashioned Bottom Round Steak Stew (10), plus 5 - one pound packages of good old Home Baked Ham and 18 yummy Muffins. Total cost - $29. Total Time - less than 2 hours.
As soon as the evening temperatures drop enough to cool the house at night, the air conditioner will be turned off again and I won't have to worry about cooking in a hot kitchen. Mealtime preparation will be a simple matter of using the microwave to defrost and heat - quick - quick - quick. Cool - cool - cool. A lazy day with a lot accomplished.